


 9 / 12

PAGE 9 OF 11
JULY 2012
Stripping solution to be applied sparingly over an area of no more than 10 square metres using large mop. Take care not to splash stripper on
walls, furnishings or fittings.
Wait 5 minutes for solution to act.
Polishing machine to be passed slowly over area to which solution has been applied. Be advised against over-machining as this can damage
original seal on wooden floors.
Check pad or brush, change to a clean one as and when necessary.
Continue operation until area to be stripped has the desired appearance.
Strip edges and corners manually using coarse hand pad.
Remove stripping solution using mop or wet-dry vacuum cleaner.
Rinse twice with clean mop and water. Change water frequently as it becomes dirty.
Equipment to be checked before and after use and any damage or unsafe condition to be reported to Supervisor.
Check that mop handle is smooth.
Do NOT leave mop lying on the floor.
Stand the mop upright in a corner when not in use.
Danger signs to be used where applicable.
HARD FLOORS
STRIPPING SOLVENT WAX (Continued)
OH&S
Power leads to be checked for fraying or exposed wires, any defect to be reported to Supervisor.
Power leads to be kept behind machine at all times to prevent machine from cutting or damaging lead.
Ensure room is well ventilated.
Be aware of back care techniques.
HARD FLOORS
APPLYING SOLVENT WAX
Danger signs to be posted (if applicable).
All furnishings and fittings to be removed.
All doors and windows to be opened.
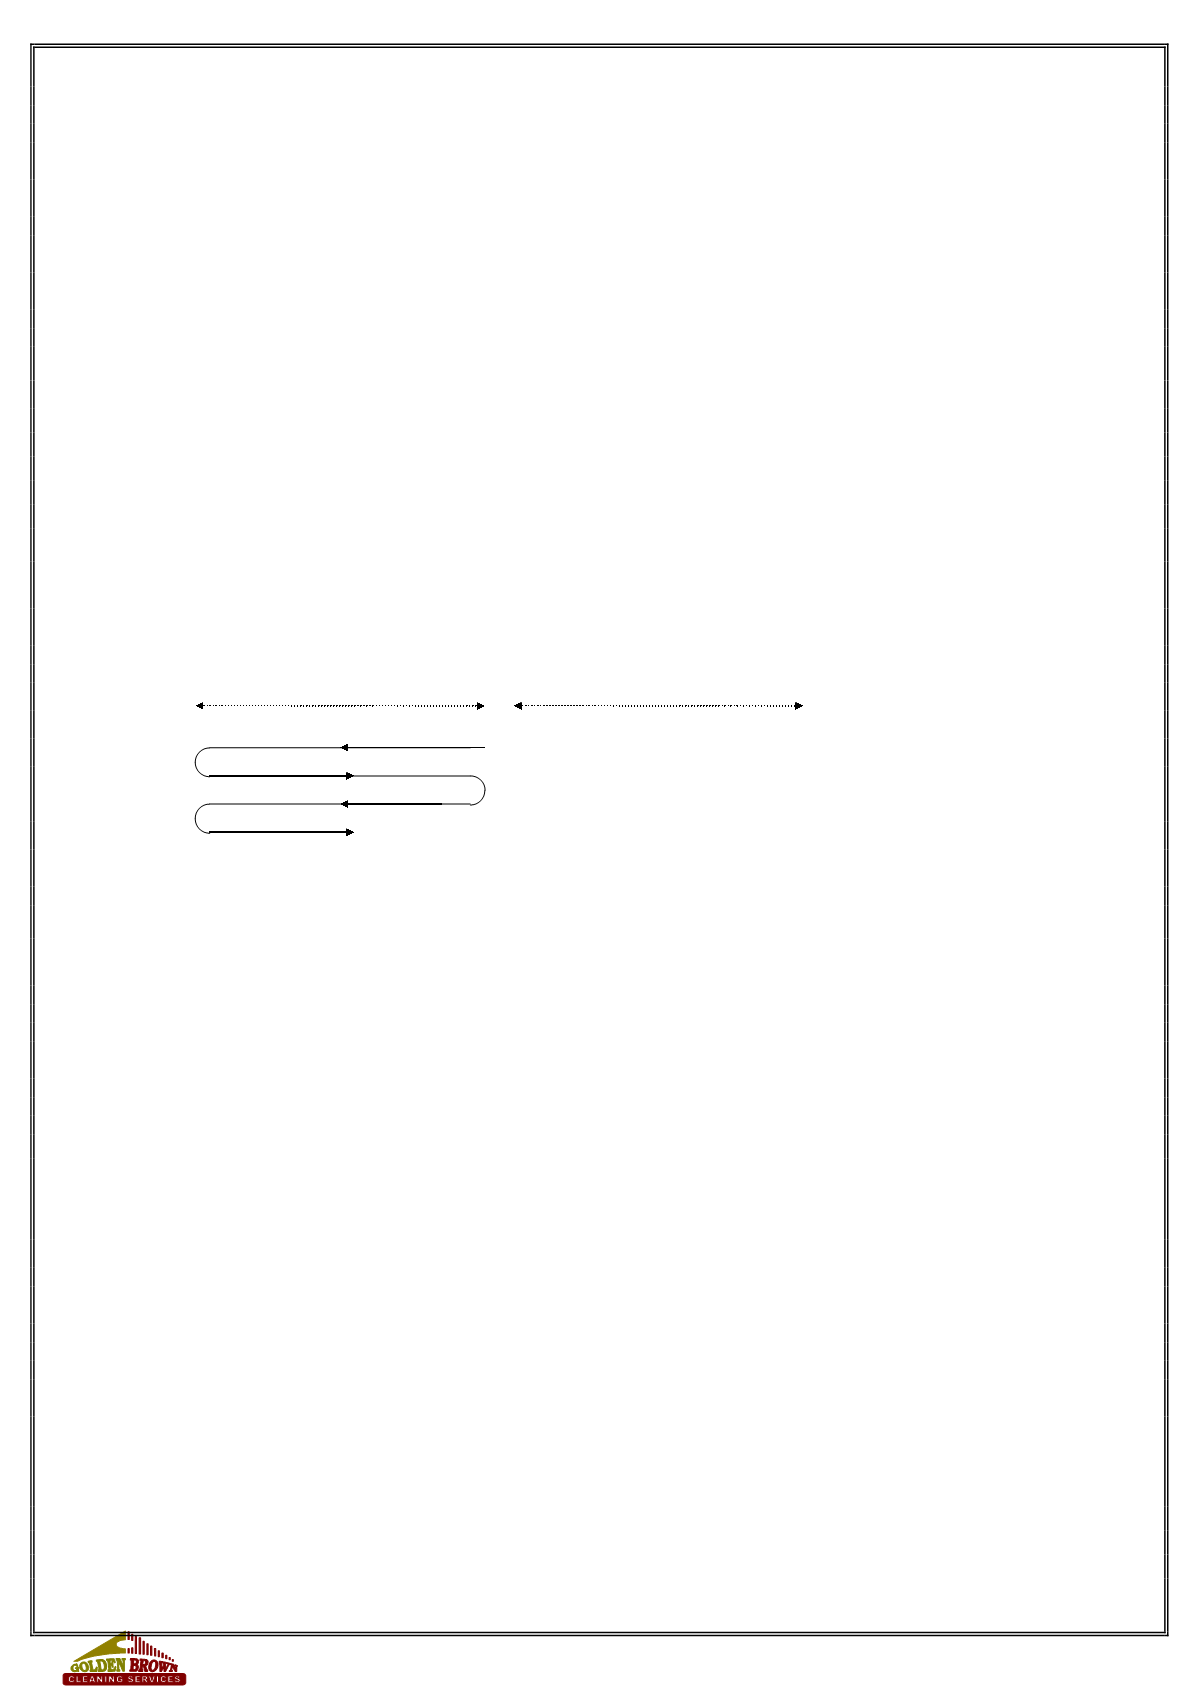
A thin, even, layer of wax to be laid around the perimeter of the area to be treated.
First coat of wax to be applied in parallel overlapping strokes in sections 2 metres wide, as indicated:
Allow wax to dry. Use fans to assist drying process if drying is taking too long a time.
Second coat of wax to be applied at right angles to first coat as directed:
HARD FLOORS
APPLYING SOLVENT WAX (Continued)
When completely dry, buff thoroughly to ensure slip-free surface. Do NOT buff until completely dry.
Equipment to be checked before and after use and any damage or unsafe condition to be reported to Supervisor.
Ensure room is well ventilated.
Do NOT smoke or allow naked flame or sparks.
Do NOT attempt to heat wax.
Power leads to be checked for fraying or exposed wires, any defect to be reported to Supervisor.
Power leads to be kept behind machine at all times to prevent machine from cutting or damaging lead.
Equipment to be checked before and after use and any damage reported to Supervisor.
OH&S
Be aware of back care techniques.
Make sure signage is in place.
HARD FLOORS
SPRAY BUFFING
Floor to be inspected, and spillage’s to be spot mopped, chewing gum or other hard solid matter to be removed with scraper.
Brush of buffing pad to be fixed to machine.
Buffing of floor surface to be commenced. A fine mist of spray buff solution should be sprayed keeping the machine operating at an even speed
to avoid burning floors, on soiled areas. Do NOT use too much solution as this produces dull surfaces and places strain on the machine.
Soils which cannot be removed by the above operation, should be treated with coarse pad and area then re-sprayed and buffed.
Do NOT machine or spray close to edge of room.
Change soiled brushes or pads as required to avoid dirtying floor surfaces.
Dust mop after buffing.
Equipment to be checked before and after use and any damage or unsafe condition to be reported to Supervisor.
OH&S
Ensure room is well ventilated.
Do NOT smoke or allow naked flame or sparks.
Danger signs indicating "Slippery Floors" to be used when applicable.
Power leads to be checked for fraying or exposed wires, any defect to be reported to Supervisor.
Power leads to be kept behind machine at all times to prevent machine from cutting or damaging lead.
HARD FLOORS
2 meters
2 meters